Get to Know My Pen & Ink Process
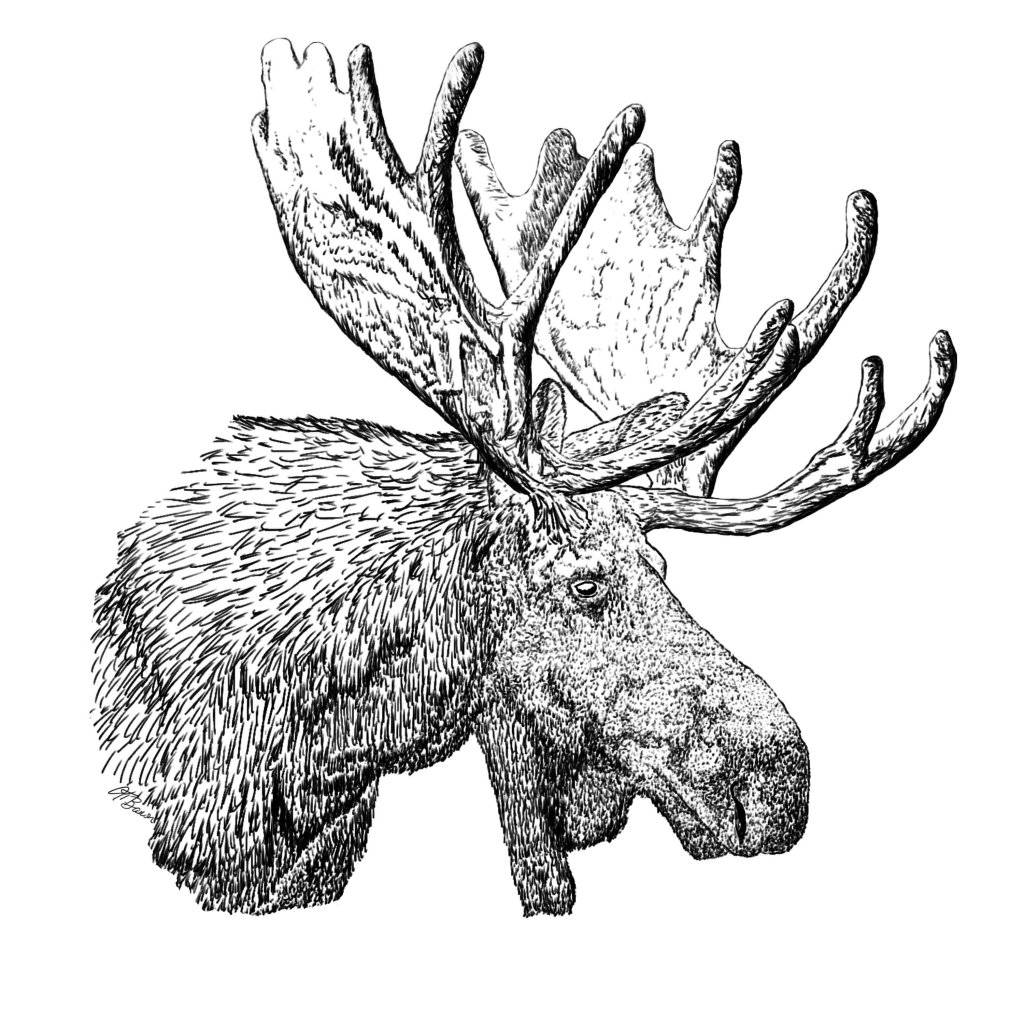
Many have asked how I create my pen and ink illustrations, so I decided to give you a quick view of what goes into my process. I will use my most recent addition of a bull moose for this explanation.
The traditional pen and ink method consists of dipping a tool, such as a pen nib or brush into ink and using it to make the marks on paper. You can also use fine-tipped markers to get the same effect with more precision. The art form takes time and patience, but it can be very rewarding.
I decided to create my pen and ink digitally because it was faster than real ink and a lot less messy. I also love the fact that I have a simple undo function when I do make a mistake that the traditional method lacks.
My Tools
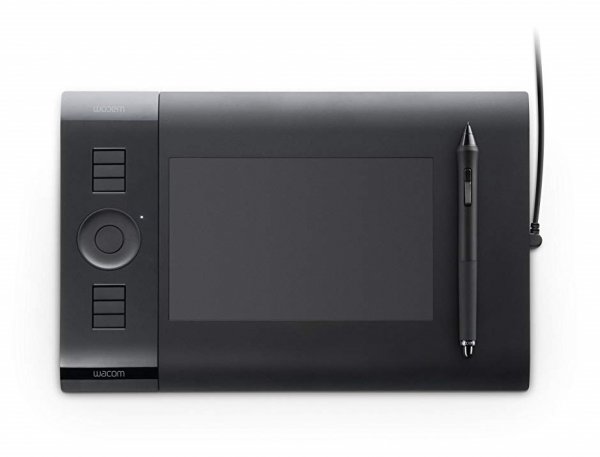
Let me first cover the tools in my process. I use a Wacom Intuos4 small tablet (model PTK-440) for drawing digitally. It is around eight years old but still functions beautifully. Honestly, if you are planning on doing any digital drawing, I recommend using a pen tablet of some form or other. Performing regular computer functions with a mouse are fine, but the device isn’t meant for the precise details of illustrating.
As for my digital software, I use Corel Painter. There are a plethora of options out there, including some free ones, so don’t think you have to drop a bunch of money to create digitally.
For those interested in my Corel settings and tools, my canvas size is 3000 pixels x 3000 pixels. I use the 2B Pencil in the Pens and Pencils Brush Tool for my initial sketches and drawing layers. For my detailed layers, I use Fine Tip under the Markers Brush Tool. I also adjust the transparency on various layers as I work.
Research and Reference
Although I could probably draw a decent moose without a reference picture, I scoured my wildlife books and the internet for various pictures to help me capture the fine details that I wanted to show in the illustration. There wasn’t one particular photo that gave me what I was looking for, so I used various images to create my subject.
NB: If you only use one image and incorporate most of the detail from that image, you should seek out the photographer first and ask permission to use it. Both professional and amateur photographers spend a lot of time getting that great shot. Even if they got it by sheer luck, they deserve the recognition.
Once I have a good reference image, I import it into my illustration program and make it grayscale. This helps me focus on form and not get distracted by any colors.
Sketching
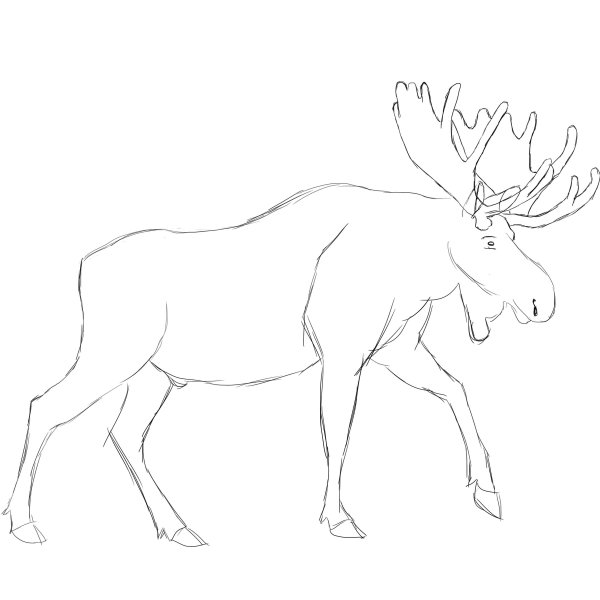
I first create a sketch of my subject. At this stage, I just need the general shapes and keep going until I get what I want. Here is what my final sketch looked like before I went on to my next layer.
Outlining
Next, I create an outline on a new layer. This drawing is more precise than the last. I add markings for where I know the location of specific muscle groups and other anatomical parts. It also gives me a nice base to work off. I decrease the opacity of the layer when I am finished and begin the fun part of the artwork on a new layer.
Detail
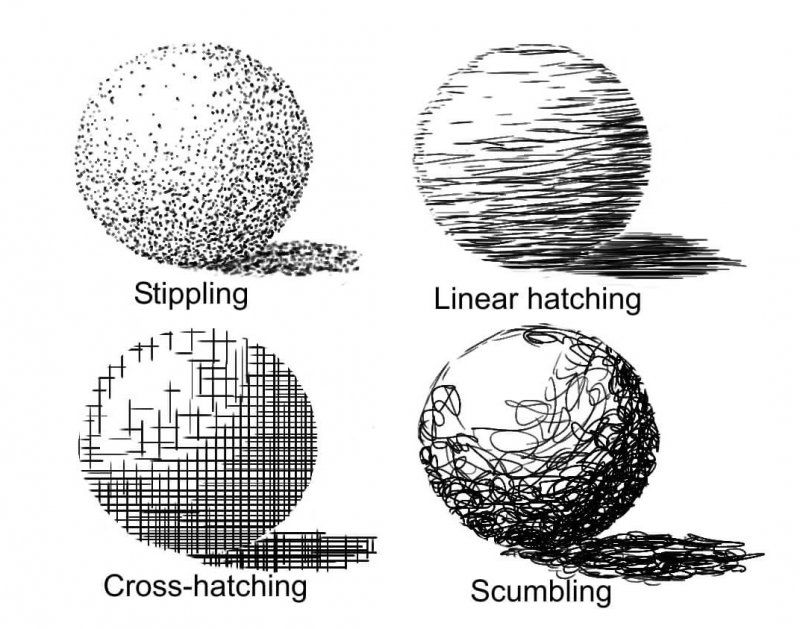
My pen and ink art is a combination of lines and dots to closely match the fur or feathers of the animal I am reproducing. Other artists use stippling (simple dots), linear hatching (lines), cross-hatching (crossed lines), scumbling (a brillo pad technique), or mixtures of each to create their works. It all depends on what one is comfortable with and the result they want.
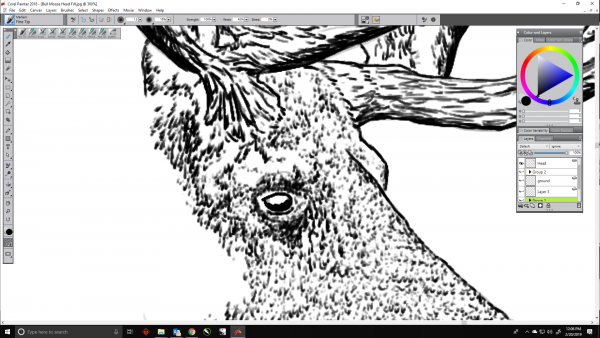
While outlining my demonstration for this post, I noticed that I almost always start my detailed work with the eyes. I guess it is because when photographing a subject, you need to make sure that the eyes are always in focus if you want to photo to look great.
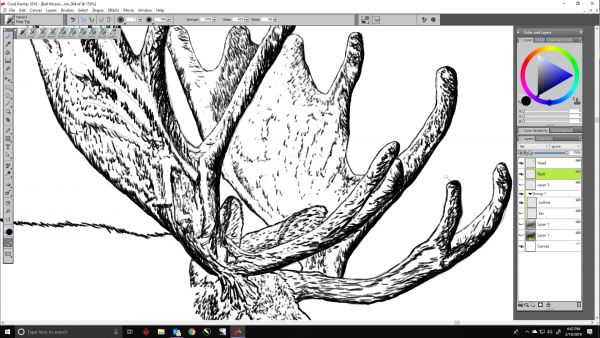
The two images below show the scale that I work on when creating the detail layers. The head is magnified to 300%, and the antlers are to 150%. In case you were wondering, my monitor is 25 inches on the diagonal, so zooming in gives me an impressive detailed view. If I were to create these illustrations on paper, I would probably use a lighted magnifying glass.
Just like any good artist, you have to step back from your work and assess it from afar. I occasionally zoom out to get a feel of how it looks and plan my next move. The following image is just that. I finished with the head and antlers and looked for any significant errors. You can see the lower outline layer that I follow.
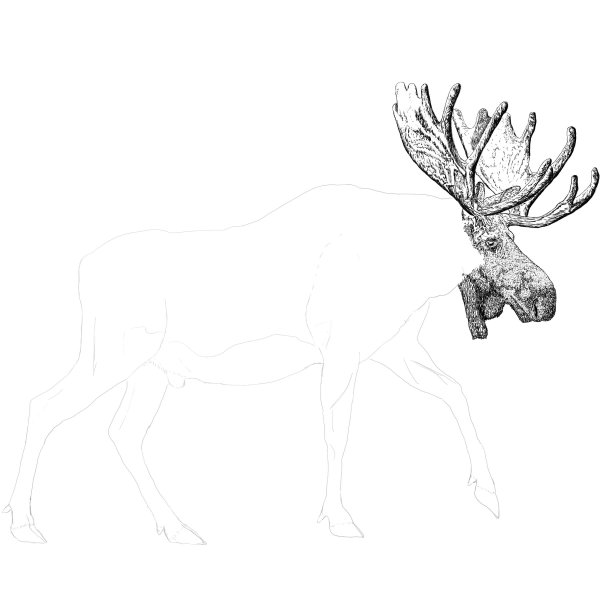
For the rest of my work, I continue to fill in the highly detailed areas. For this bull, I headed for the feet.
Moose are even-toed ungulates, much like cows and giraffe. Some odd-toed ungulates are horses and rhinoceros. I had to do a little digging to find a proper image of moose hooves. They are shy creatures, and if you do happen upon one, you are not likely to get a close enough photo without getting charged. Thanks to zoological gardens and wildlife hunters and enthusiasts, I found what I needed to get the correct detail.
You might be wondering what benefit a moose gains from having a split hoof. These ungulates spend a considerable amount of time in wet and muddy areas. That split toe splays open when they take a step and gives them a better footing on the slick terrain and prevents them from sinking into the soil.
The next image shows the detail of the hoof at 200%. You can see the split hoot and one of the dew claws. I am curious to find out how much ink it would take to create the hoof on paper on this same scale.
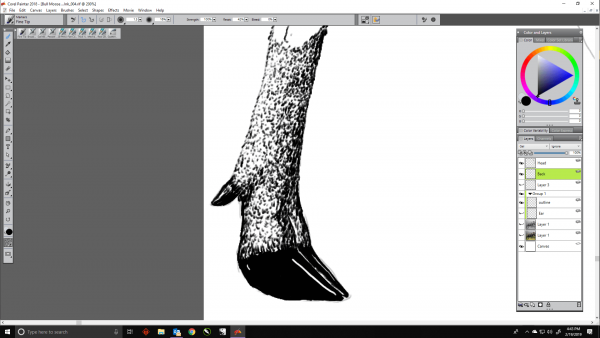
From here I work on the remaining feet and complete the outside edges of the animal much like working on the border of a jigsaw puzzle. Then I tackle the larger sections of the body.
There are multiple lengths of hair on a moose. The legs have shorter hairs for wading through the water, while the longer guard hairs on the back keep them warm. The hair of moose and others in the deer family are also hollow. This adaptation helps with insulation and maintaining their body temperature.
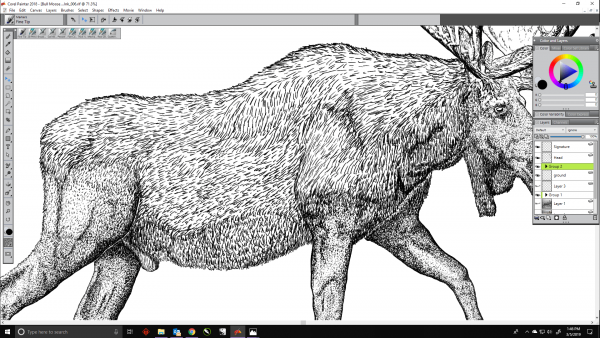
I used long strokes to capture the hide on the back of the moose and blended them into the muscular legs. The process was faster than the detail of the head and legs, but I still wanted to capture the contours of the body. Here is the final result.
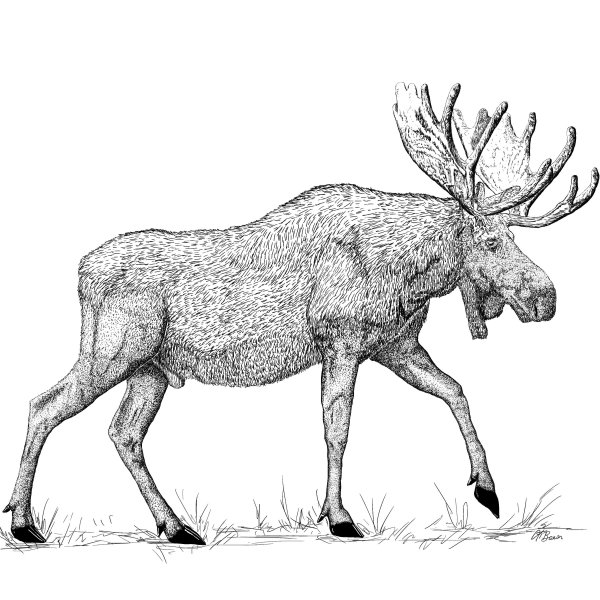
I was able to complete the illustration in about six hours once I had all of my reference images picked out. It was a lot of fun creating this, and I plan on making more illustrations of other animals in this style.
The drawing, if chosen by the NY DEC, will be printed on a 2.125 x 3.25-inch stamp. Here is this year’s stamp with my illustration of a Barred Owl.
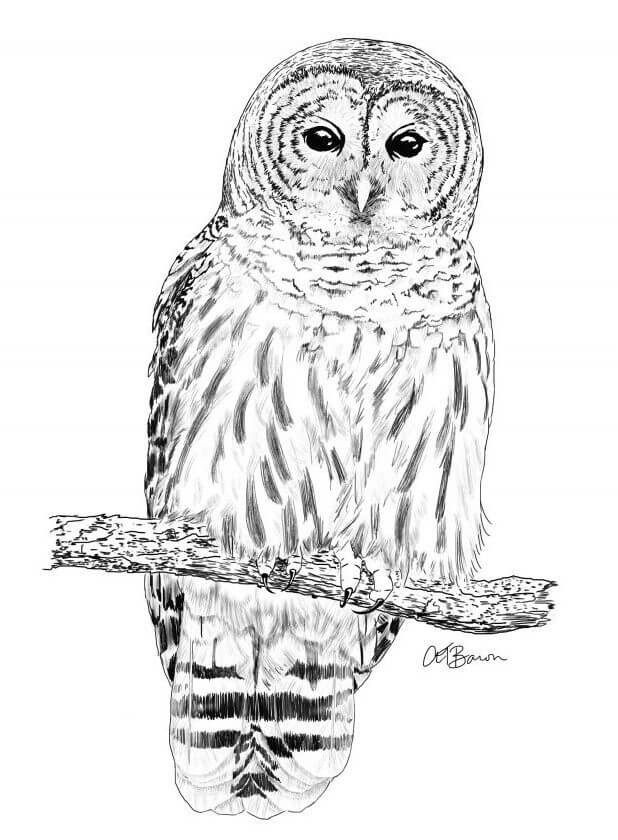
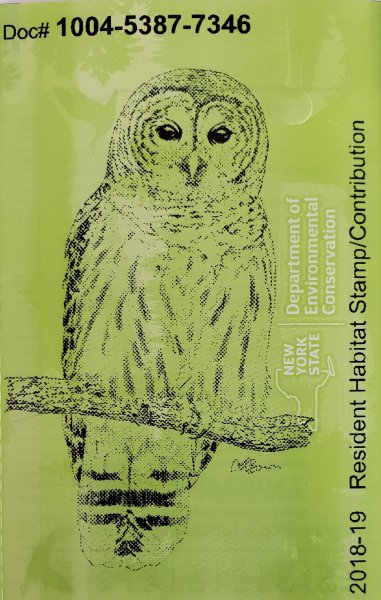
As you can see, the image loses some of the detail when printed, but I was still pleased with the outcome. I believe that the time and effort that I put into the original illustrations still shines through.
